NorthernAutumn
Autumn - Administrator
Oh WOW! How did you manage to swing that, Patti?

Oh WOW! How did you manage to swing that, Patti?
The pictures I posted were taken at in Columbia, SC in 2006 (I think that's right?) at a rabbit forum gathering (not RO).
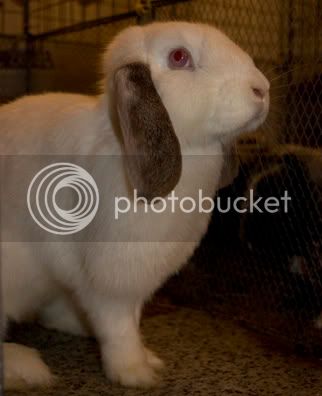
") Again this is with a direct flash on the subject. You can see myshooting style isusing flashes, because I like tohighlight the details with light.
Again this is with a direct flash on the subject. You can see myshooting style isusing flashes, because I like tohighlight the details with light. 
There are no secrets with digital photography, it's all somewhere in the file...Mike used his Fujifilm S3Pro cameraat that time (similar to the Nikon D200 that I also have). He shot with a very fast lens (F 1.4) so he didn't need a flash.
You can tell I used a wide aperture because of the limited depth of field in the pictures - that's how much is in focus from front-to-back on the pictures. That throws the background out of focus, so that Sparky and Scooter stand out more.


Yes, you can change the f-stop. From the Z760 manual:The camera I'm using is just a point and shoot Kodak EasyShare Z760. It doesn't look like I can change the f-stop myself.


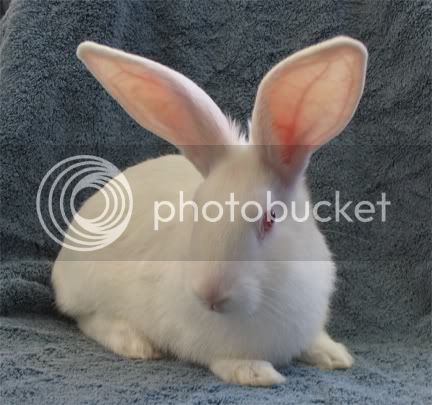
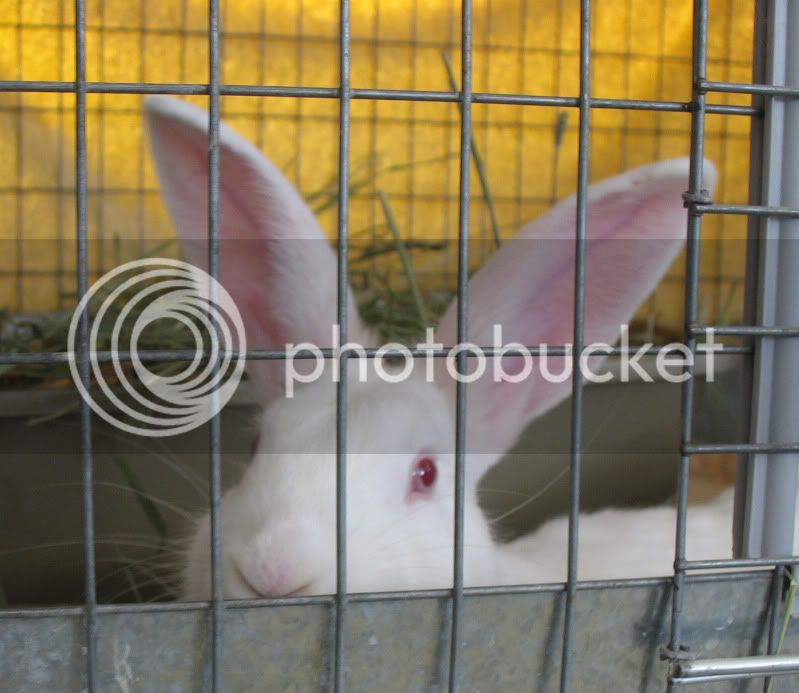
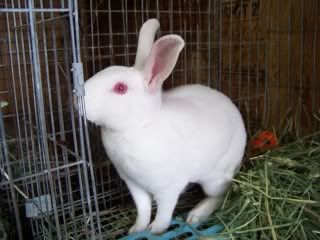
Natural daylight is the best, if you can get it. Unfortunately, I can seldom get daylight for pictures of Scone, since I'm not often home during the day and he's very much an indoor bun.Again as I said previously I try to take all of the bunnies photos in natural light, so not only are the REW's eyes the right color, but so is all the color in the picture!
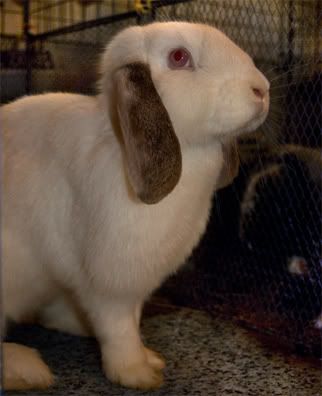
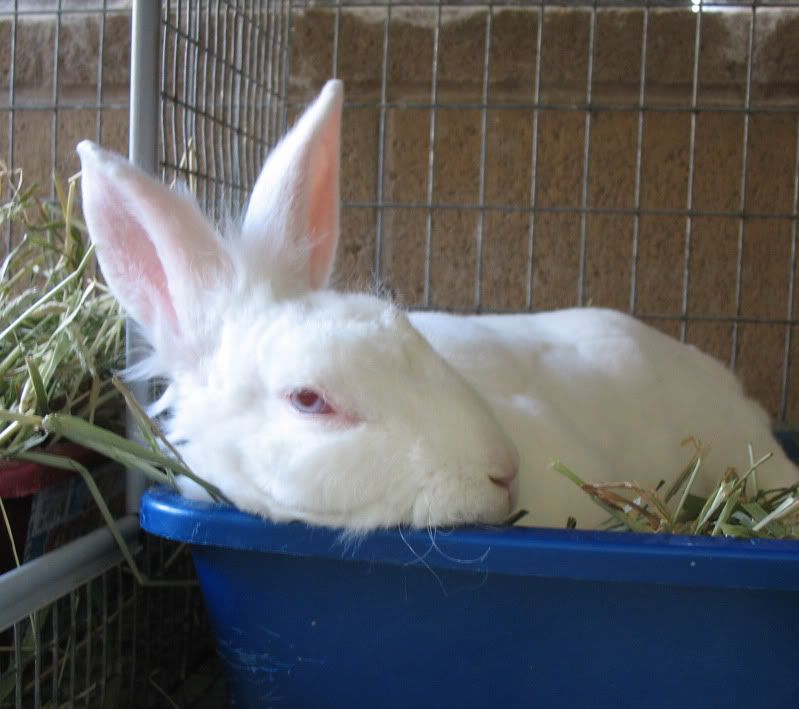
Well done... now let's take the next step. The background color's OK, but Raspberry's fur is a bit "flat" and slightly off-color (at least, I think it should be whiter).So I have just made a quick attempt at post-processing in Photoshop to clean up the background...


There is a shortcut - if you select the right-most of the three eyedroppers in the levels window (the one filled with white) then click on something in the picture which should be white, it will make the same adjustment automatically. You can also use the middle eyedropper and select something which should be neutral gray, but usually white's easier. I tried that with this picture, but I thought the result was a bit too blue-shifted, so I did it the hard way.